
Creating and Assigning Plans
Last updated 10 April 2025
Learn how to build and assign personalized workout and nutrition plans that align with your client’s goals.
Once a client is accepted, it’s time to guide them toward success. This section walks you through creating plans and assigning them effectively—either from scratch or by reusing existing templates.
🛠️ Ways to Create a Plan
You can create plans from two main entry points:
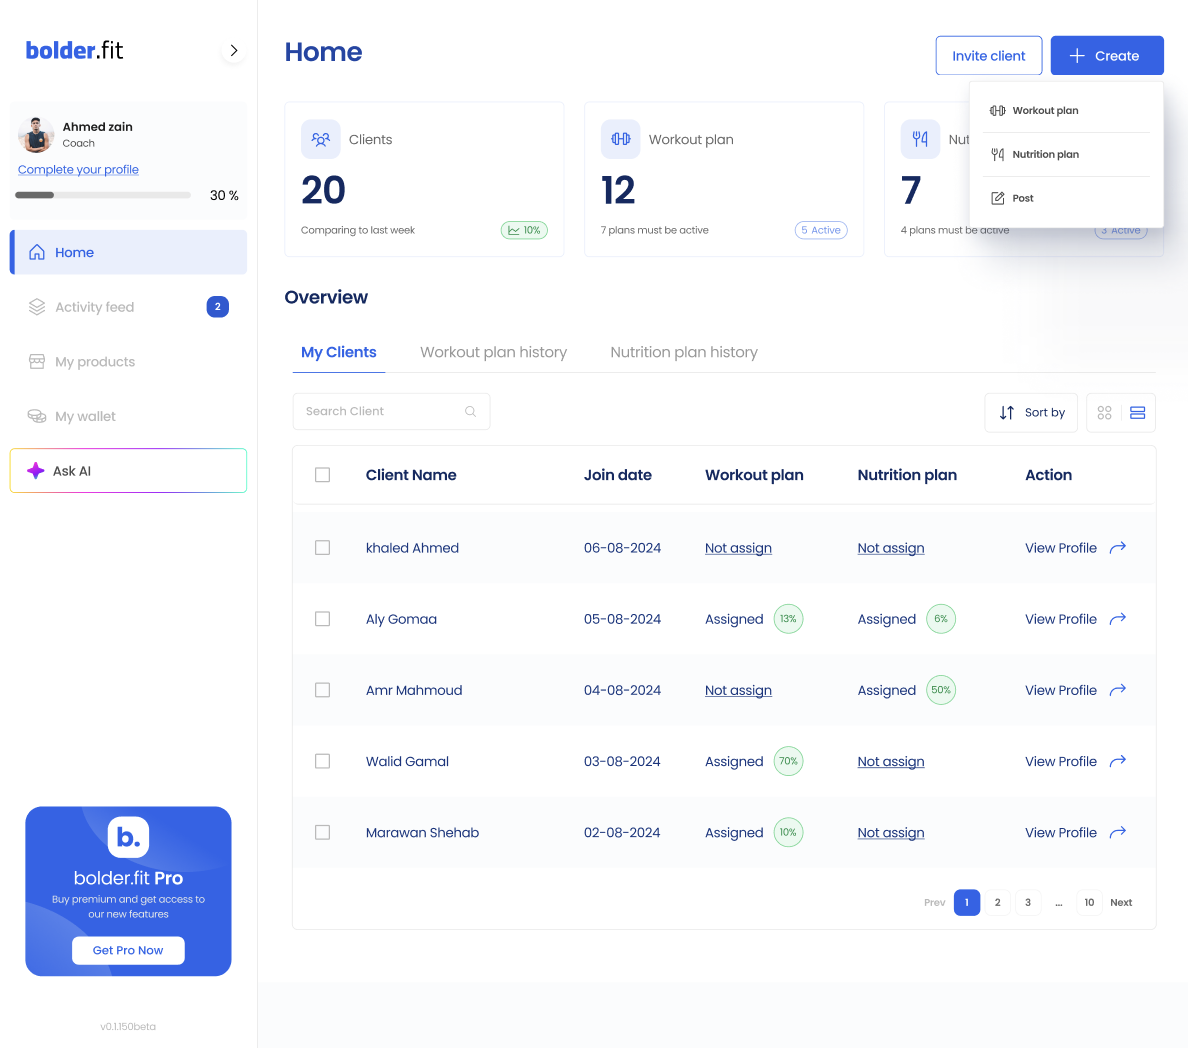
🔹 Option 1: “Create” Button
- Located at the top-right of your dashboard.
- Choose between:
- Workout Plan
- Nutrition Plan
- Opens a full plan editor where you can:
- Add weeks and days
- Choose workouts, exercises, or meals
- Customize notes and instructions
🔹 Option 2: From the Clients Table
- Look for the “Not Assigned” tag beside a client’s name.
- Click it to jump directly into the plan creation flow for that specific client.
✍️ Editing the Plan
In the plan editor, you can:
- Select the client you want to assign
- Add and reorder exercises/foods
- Include notes like “focus on form” or “hydrate more today”
- For workouts: select from a library of 1300+ exercises or create your own
- For nutrition: specify foods, meal types, macros and micros
💡
Pro Tip:
If you made a great plan, you can reuse it for future clients.
📤 Assigning the Plan
Once your plan is ready:
- Click “Save & Assign”
- Done!
The client will instantly receive the assigned plan in their app.
👀 Client View After Assignment
Clients can:
- View their plan by day
- Check off completed workouts or meals
- Log notes or feedback (if enabled)