
Getting Started
Last updated 9 April 2025
Welcome aboard, Coach!
Once your account is active, the most important thing is understanding how Bolder.fit is structured. The platform is designed so every major coaching function has a clear place.
Dashboard
The Dashboard is your daily starting point.
On web:
- One side shows the Timeline (Posts): updates, client activity, system events, and important actions.
- The other side shows Analytics: high-level performance, engagement, and coaching signals.
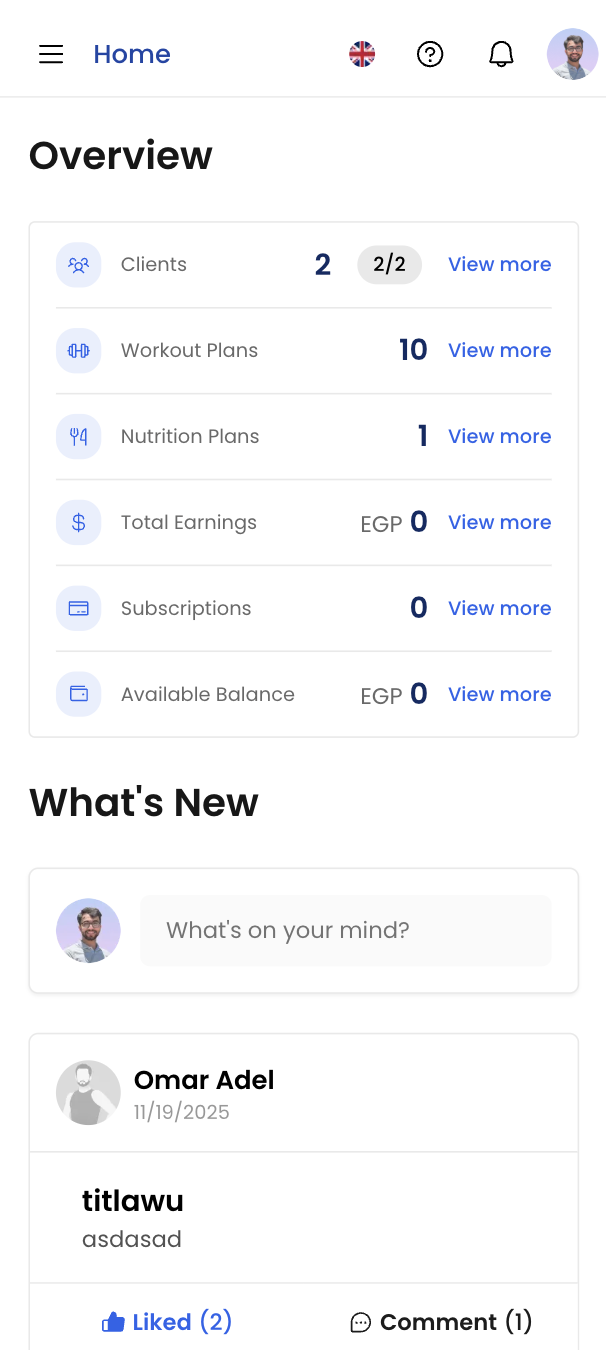
On mobile:
- Analytics appear at the top for quick insights.
- The Timeline (Posts) appears below with infinite scroll, so you can continuously review activity without friction.
The dashboard answers one question: “What needs my attention right now?”
Clients Page
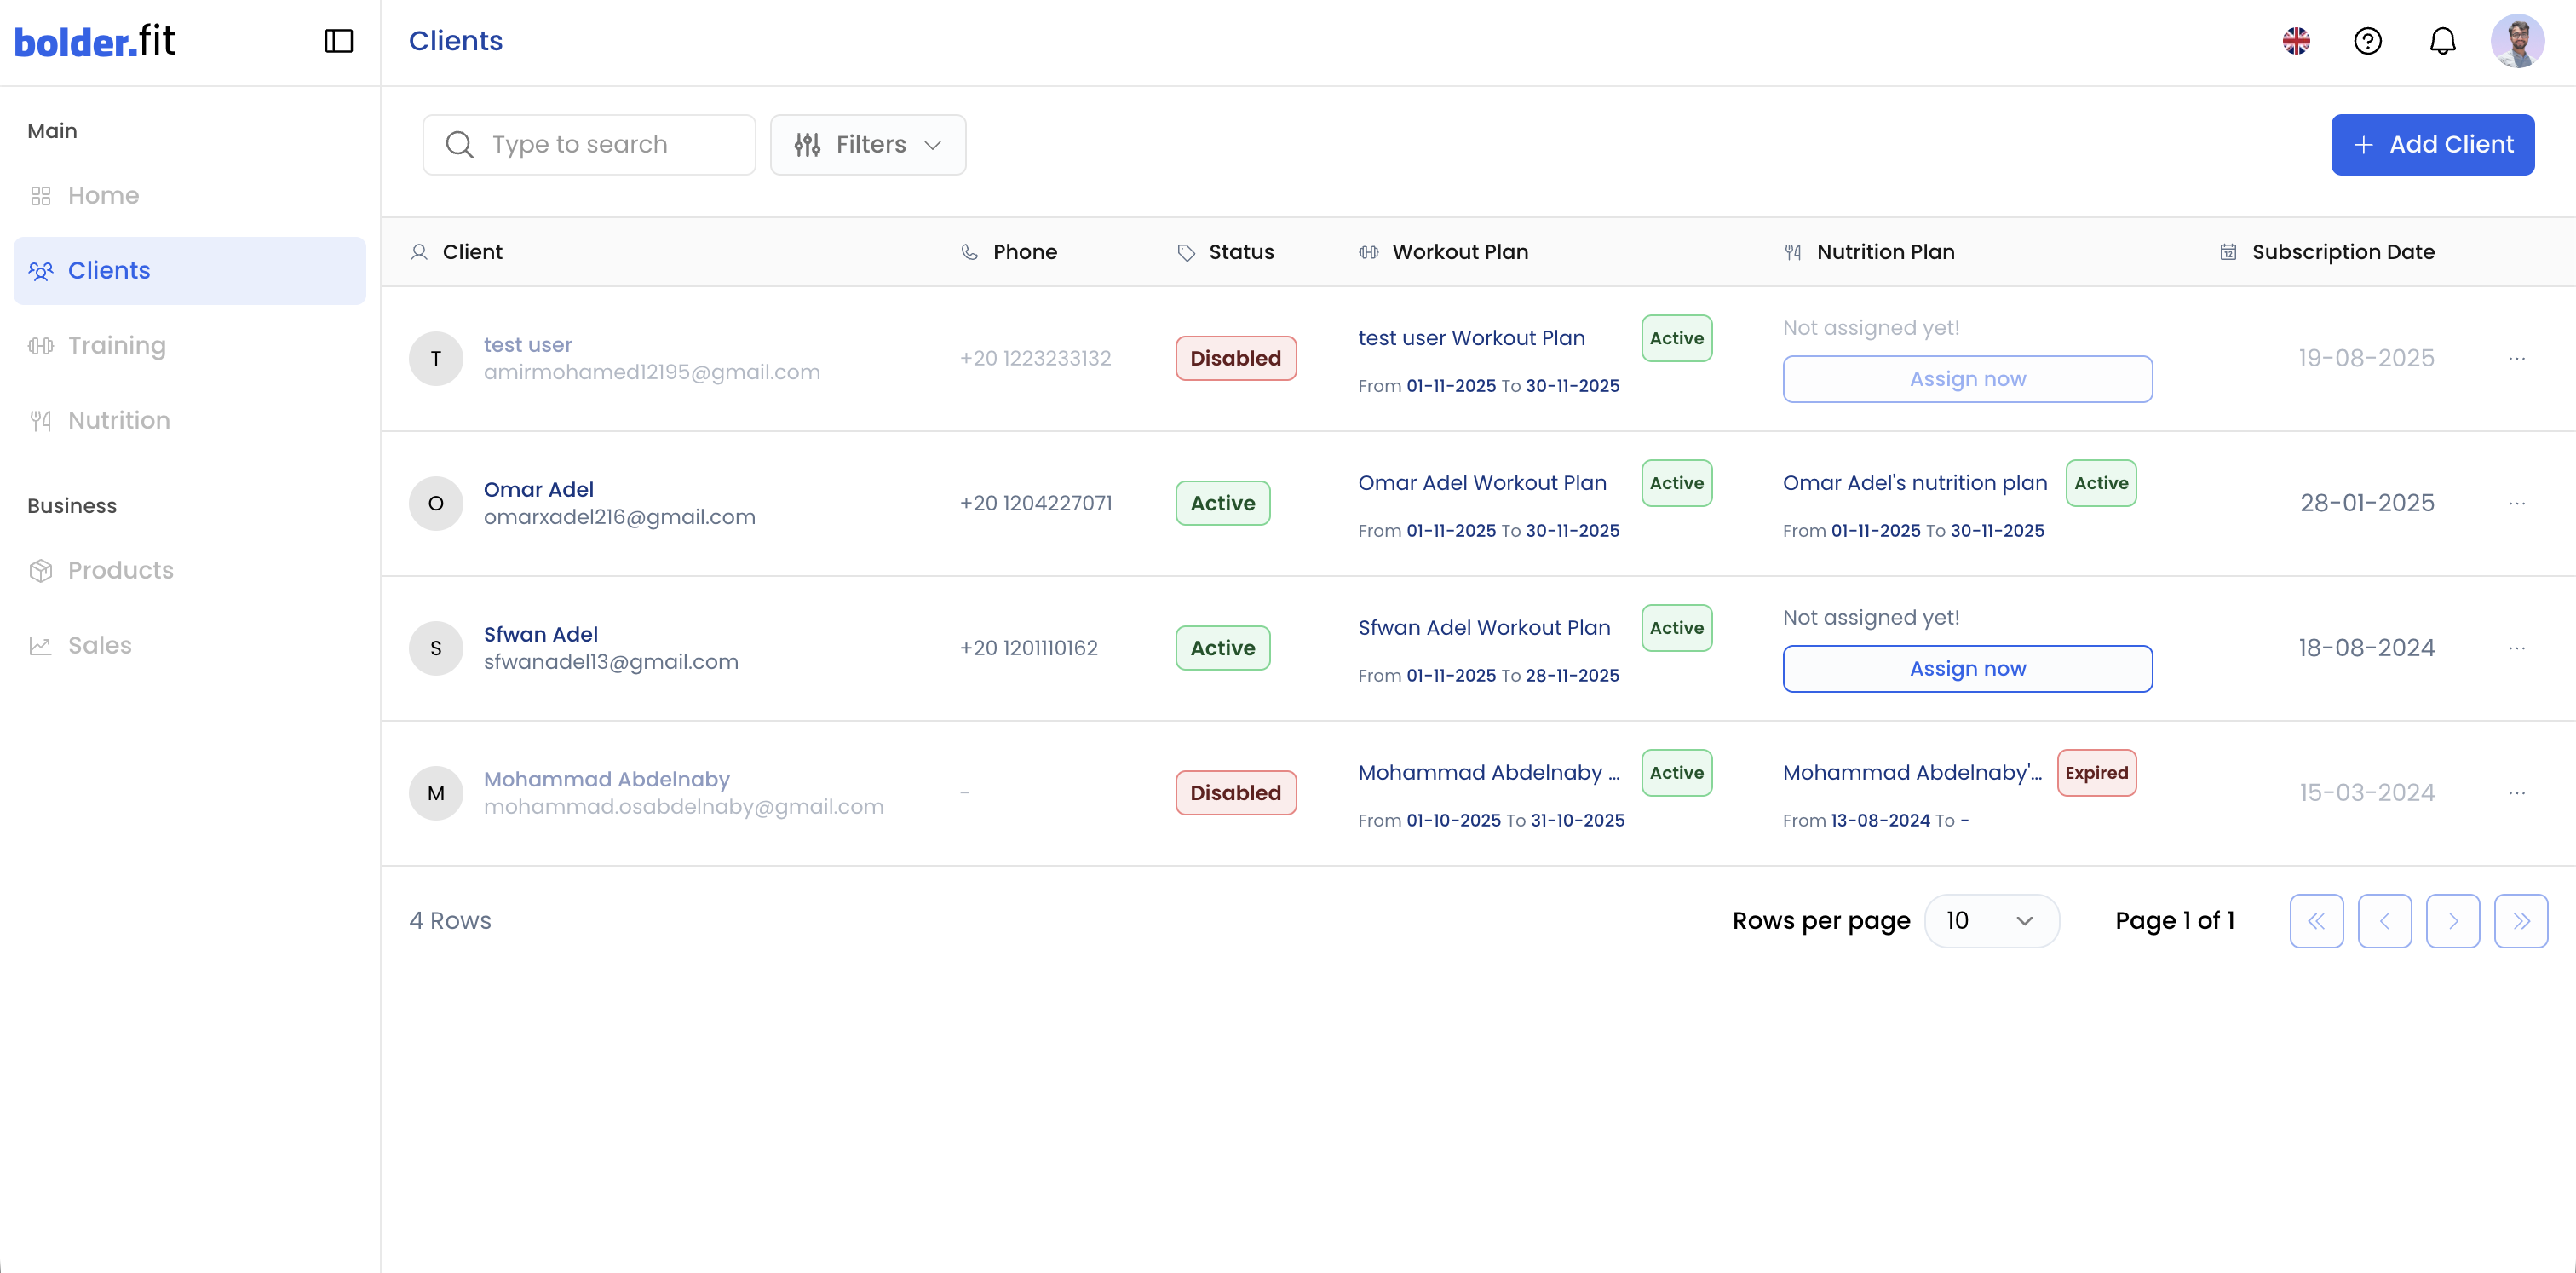
The Clients page is where all your clients live.
From here you can:
- View your full client list
- Open individual client profiles
- Track progress, history, and check-ins
- Manage active/inactive training and nutrition plans
Think of this as your client workspace, not just a contact list.
Training Page
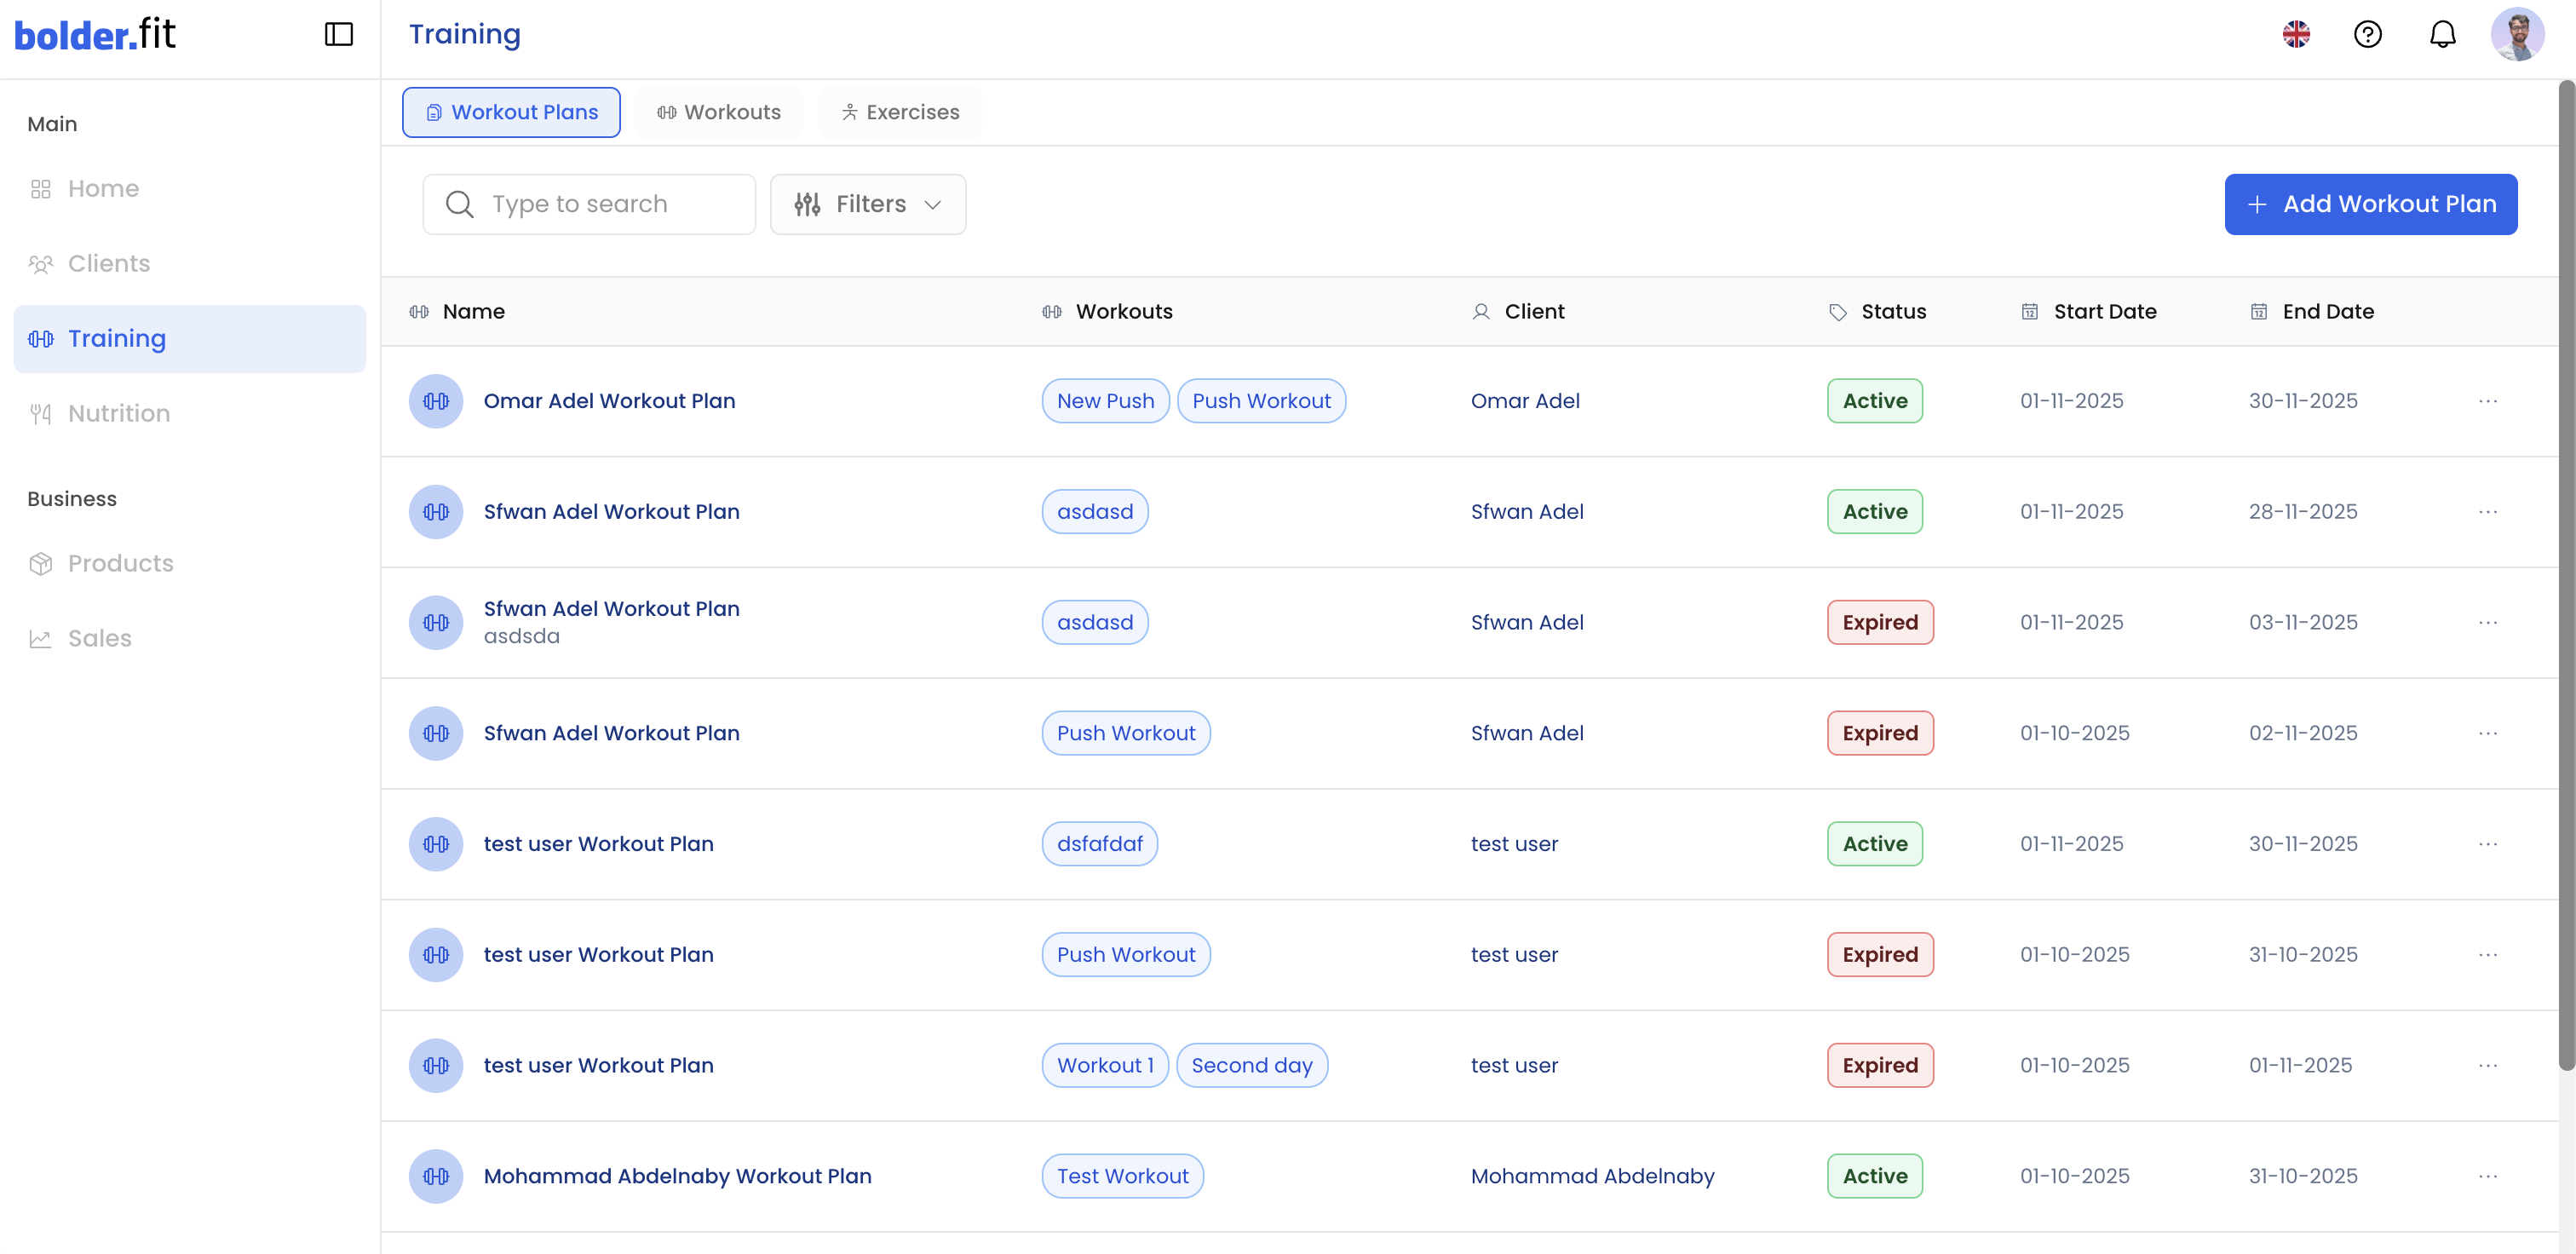
The Training page is where all training assets reside. It is organized into three levels:
- Exercises: The smallest unit. Individual movements with instructions, cues, and media.
- Workouts: A collection of exercises structured into sets, reps, rest, and order.
- Workout Plans: A structured program made up of multiple workouts, usually organized over weeks or phases.
Hierarchy matters:
Exercises → Workouts → Workout Plans
This structure allows you to reuse assets while keeping programs flexible.
Nutrition Page
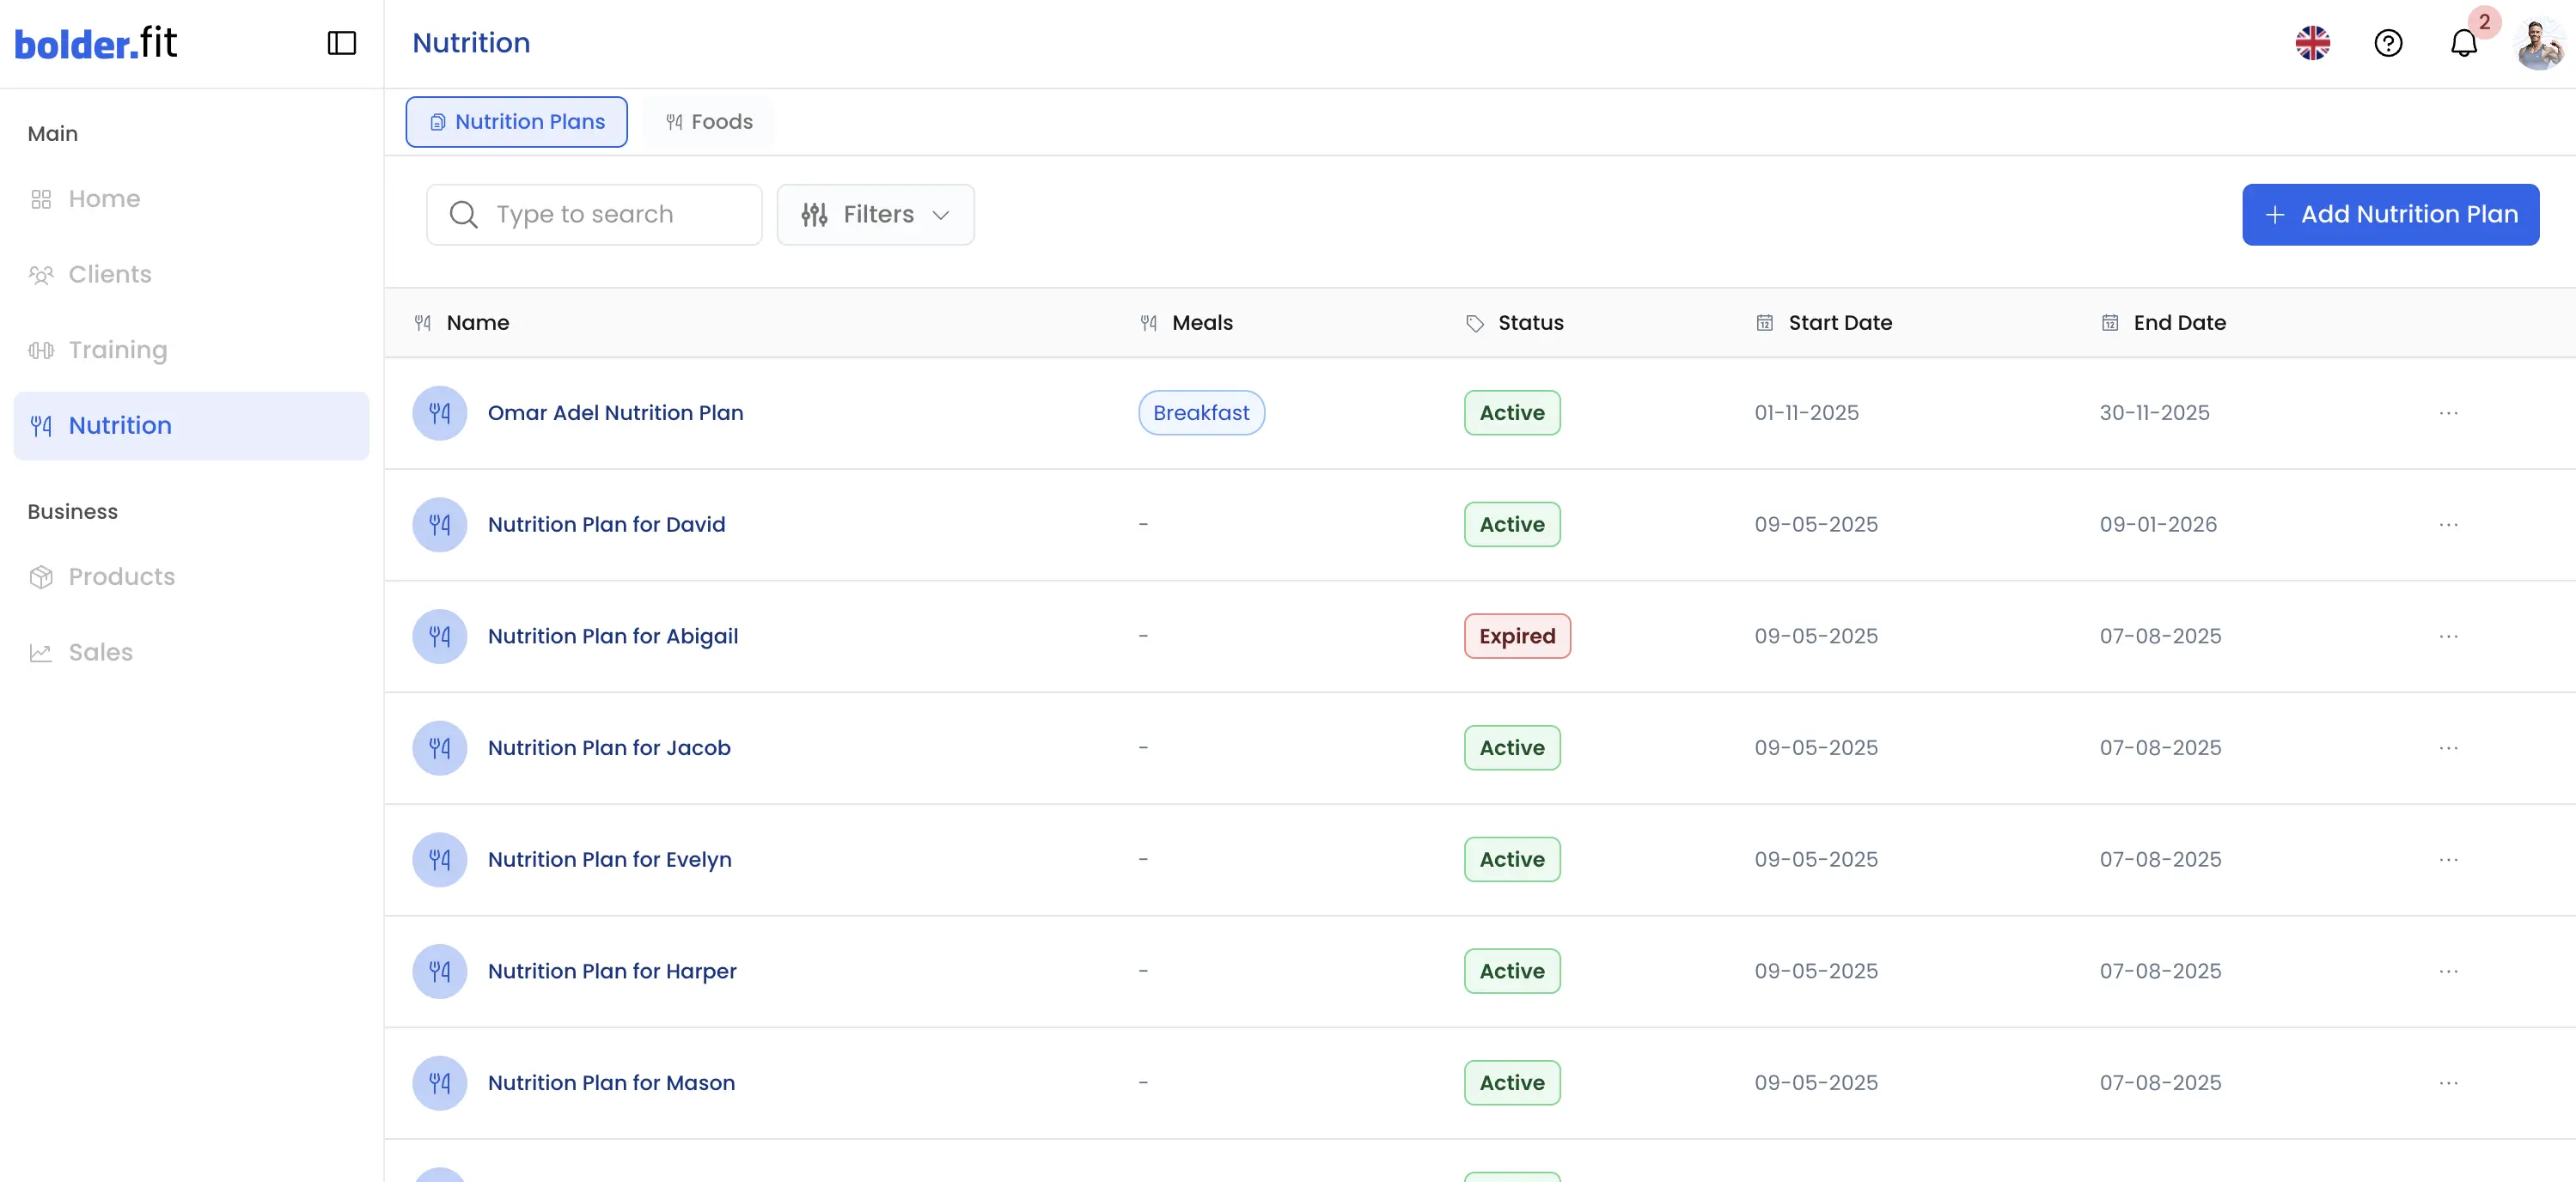
The Nutrition page contains all nutrition-related assets:
- Foods: Individual food items with nutritional values.
- Nutrition Plans: Structured plans that combine foods into meals and daily targets.
Nutrition plans should always be aligned with client goals, preferences, and sustainability.
Products Page
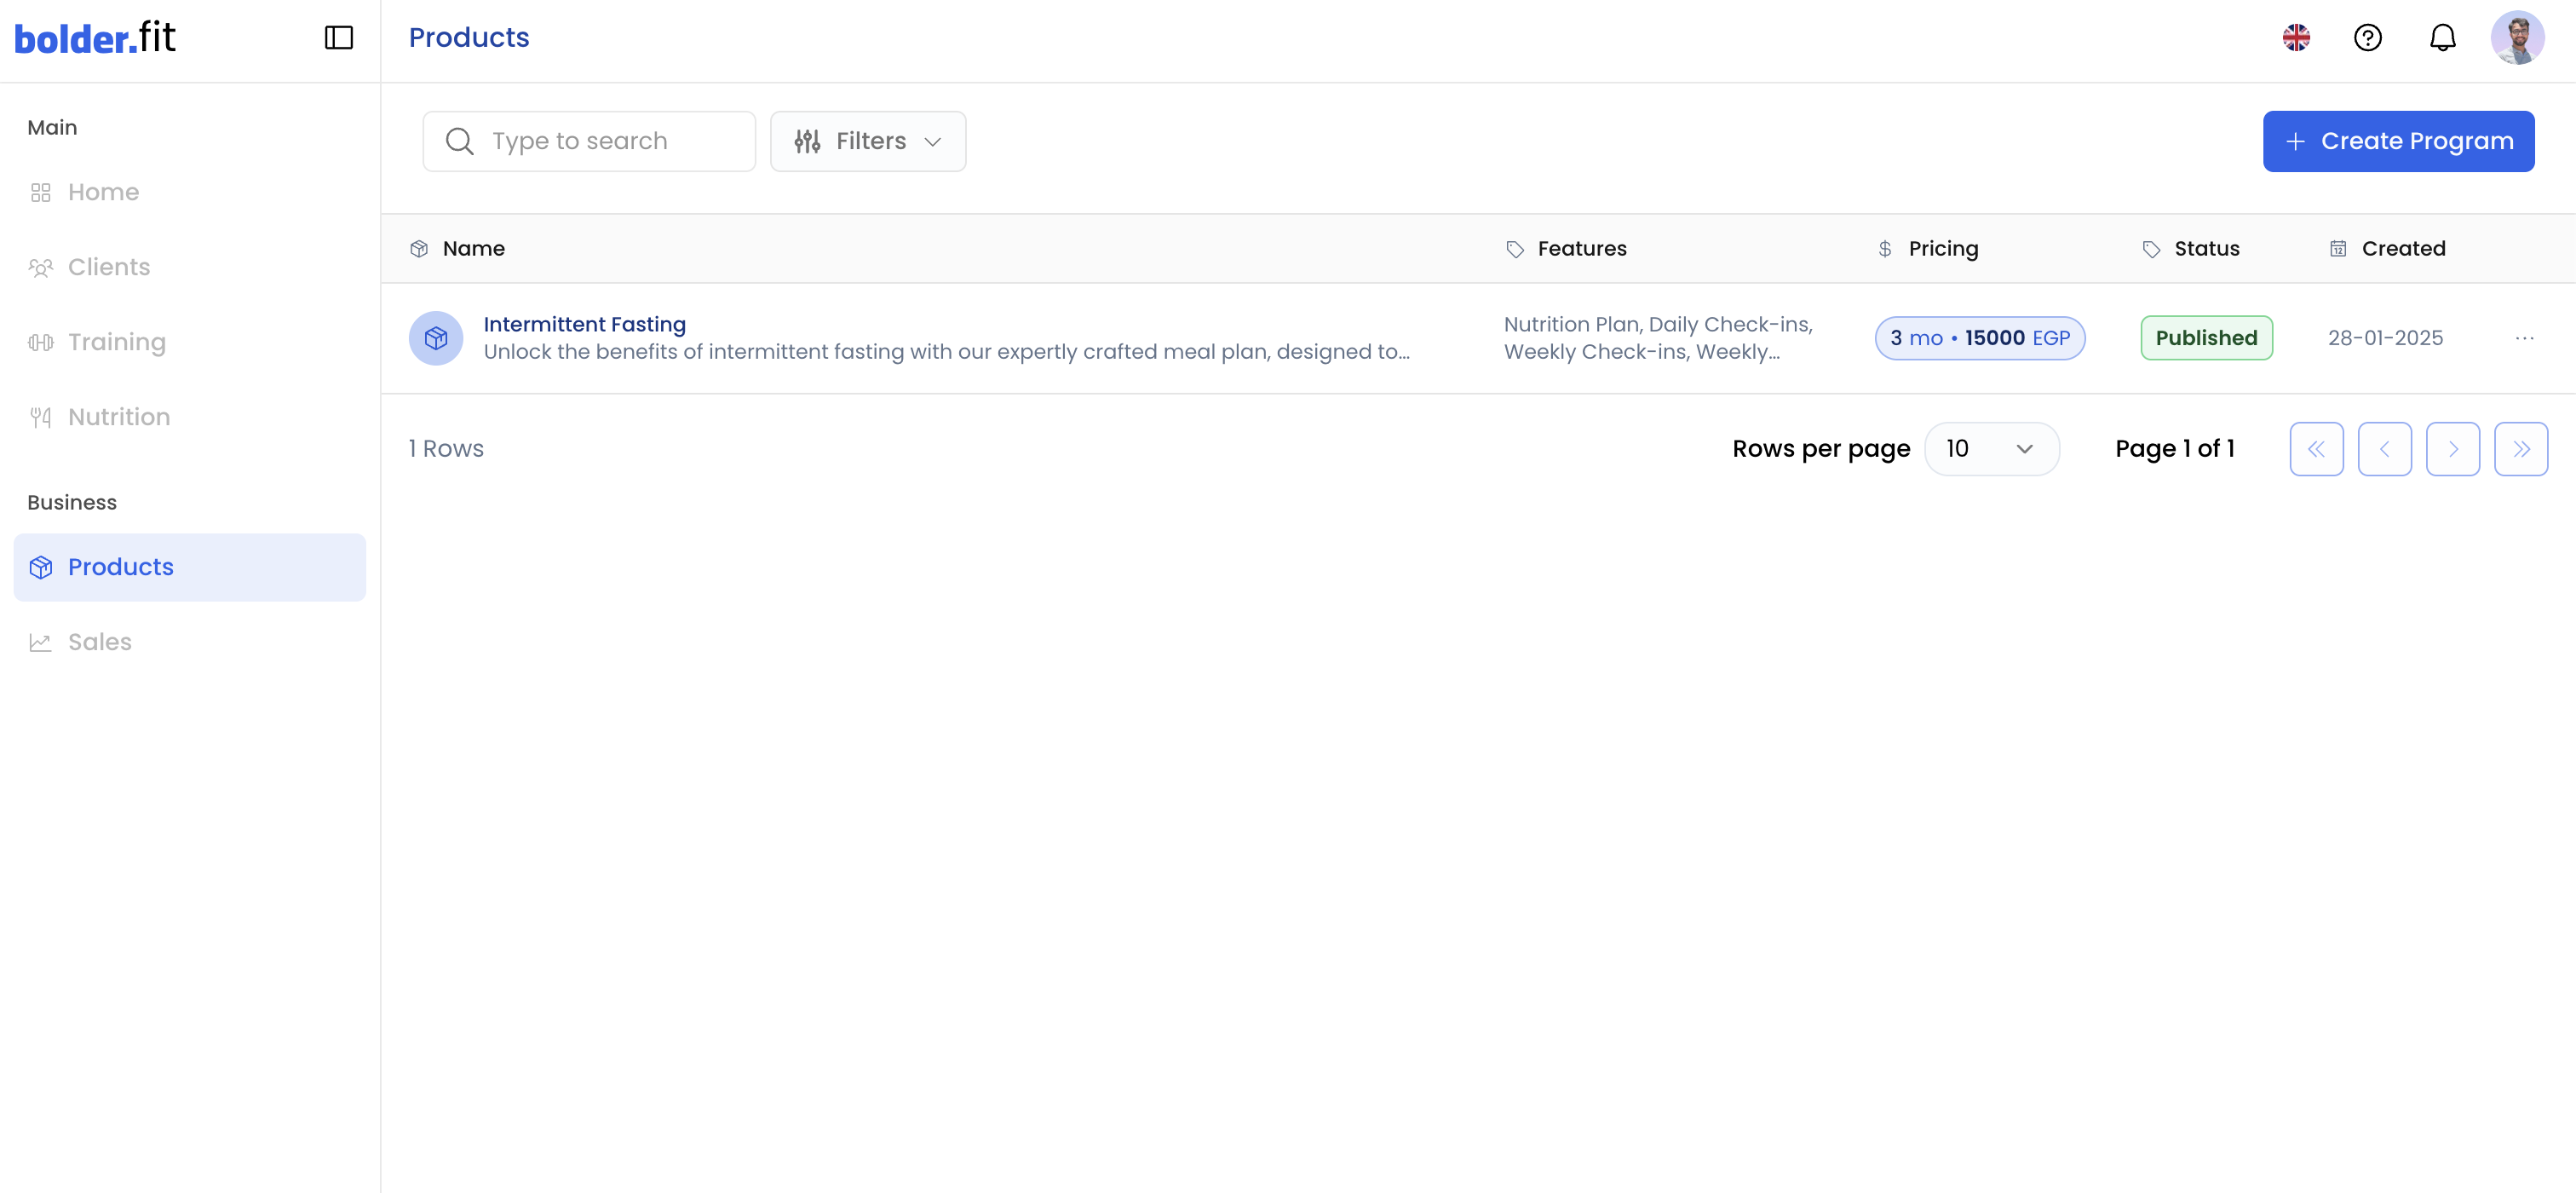
The Products page is where all your sellable offerings live.
This includes:
- Subscription packages
- Coaching programs
- Any paid products you offer through Bolder.fit
Products define what clients buy and what access they receive.
Sales Page

The Sales page is where you track the business side of coaching.
From here you can:
- View sales analytics
- Track revenue and performance
- Withdraw earnings
This page gives you full visibility into how your coaching translates into income.